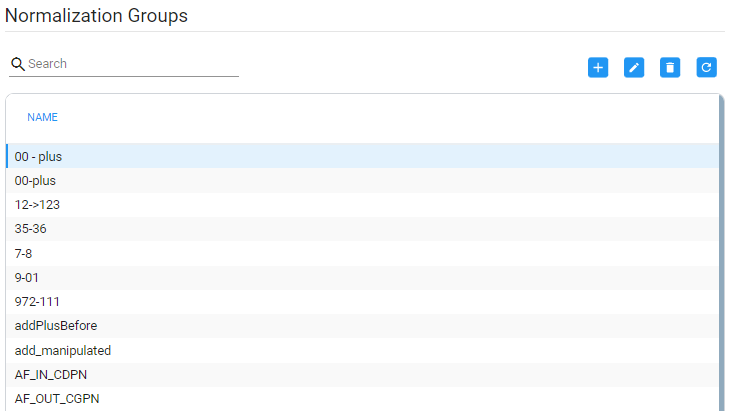
Add a Normalization Group
Network administrators can add a Normalization Group. A Normalization Group can comprise one rule or multiple rules. If there are multiple rules in a group, manipulation is performed in the order the rules are listed. The output of the first rule will be the input of the next.
|
➢
|
To add a Normalization Group: |
|
1.
|
Open the Normalization Groups page (Settings > Call Flow Configurations > Normalization Groups). |
|
4.
|
Use the following table as reference. |
Normalization Groups
| Setting
|
Description
|
|
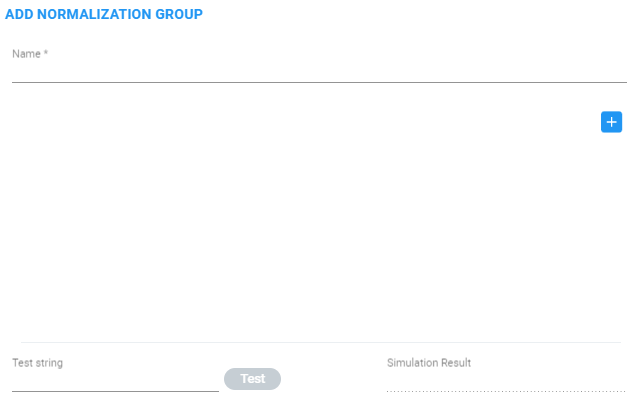
Name
|
Enter a group Name for intuitive future reference.
|
|
Regular Expression /
Replace By /
Description
|
|
1.
|
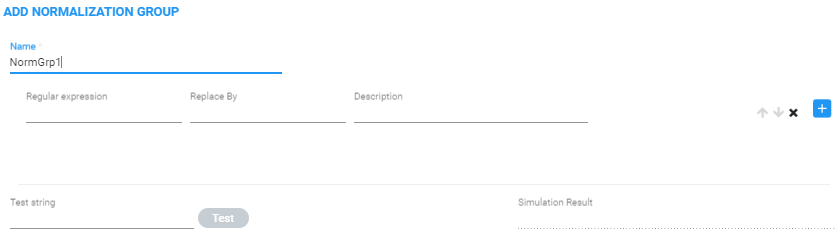
Click the + icon adjacent to the pane as shown in the figure above. |
|
2.
|
In the left textbox, enter a regular expression. For more information about regular expressions, refer to online tutorials or see Examples of Normalization Rules . |
|
3.
|
In the 'Replace By' field, enter the text that will replace the found regex. You can use groups collected by brackets (…) in the regex in the replacement string using $1, $2,… See a regex tutorial for more information. |
|
4.
|
Enter a description for the convenience of operators managing the network. |
|
|
Test string
|
Use this feature to test different possible inputs and verify that the regex sequence you entered produces the result you intended.
|
■
|
Enter any value you want to test and click Test; the result of each individual rule is displayed under 'Simulation Result'. |
|
After a Normalization Group is defined, you can attach it to a:
The same Normalization Group can be reused / attached several times in any of the above cases.